
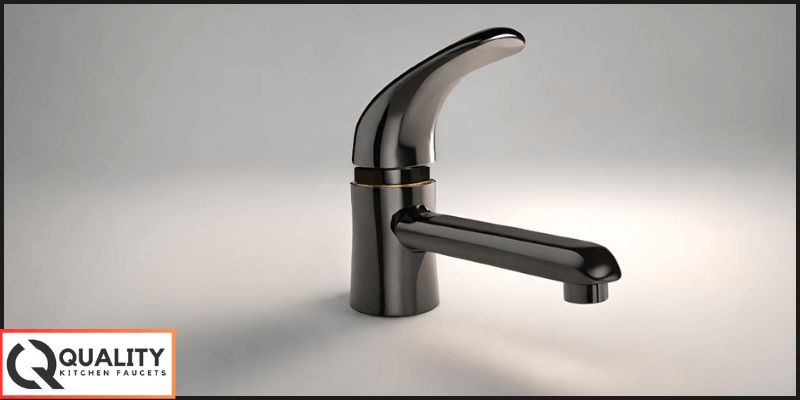
How to Best Tighten a Loose Single-Handle Kitchen Faucet Base
How to Tighten a Loose Single-Handle Kitchen Faucet Base is a common problem that can be annoying and potentially damaging to your countertop.
The constant movement every time you use the faucet can gradually loosen the base, leading to water leakage and other plumbing issues. This simple problem, if overlooked, may lead to more complicated and costly repairs.
However, the good news is that, with the correct information and a bit of elbow grease, you can fix this problem yourself. It’s a straightforward process involving just a few steps and standard tools. So, you don’t need to be a plumbing expert or hire a professional for this simple task.
This article is to help you stiffen a loose single-handle sink tap base. Following the instructions provided here will save time, make sure the annoyance is gone, and prevent any potential damage to your kitchen. So, let’s roll up our sleeves and get started.
How to Tighten a Loose Single-Handle Kitchen Faucet Base: in 10 Steps
Step1. Turn off the water supply:
Could you locate the water valves under the sink and turn them clockwise to cut the water supply?
Step2. Secure the faucet:
Hold the bibcock from above while you go under the sink for the next step.
Step3. Locate the screw:
Find the screw that secures the spout to the countertop. It’s usually located under the sink, directly below the faucet.
Step4. firm up the screw:
Using an flexible wrench or a basin wrench, tight the screw. Be careful not to over tighten a loose kitchen faucet.
Step5. Check the valve:
You can return to the tap to check if it still moves. If it does, could you repeat the previous step?
Step6. Secure the water lines:
If the water lines are loose, use a wrench to fasten those as well.
Step7. Turn the water back on:
Once everything is secure, turn the water supply back on.
Step8. Test the spigot:
Run the faucet to check for any leaks under the sink.
Step9.Check for movement:
Please give the faucet a few wiggles to see if it still moves. If it does, you may need to tighten repeat the tightening process.
Step10.Clean up:
Now that everything is in order, clean up your working area and enjoy your fixed faucet!
1. The annoying problem of a loosened kitchen faucet footing
Regular kitchen faucet maintenance ensures smooth functioning and elongates the lifespan of your center attachment.
It can prevent balance issues like drip or loose bases, saving you from inconvenient disruptions and unexpected repair costs. A well-maintained faucet also ensures a steady water flow, conserving water and reducing utility bills.
Could you make it a habit to periodically check and secure your faucet base and other parts, keeping your kitchen tap in optimal condition?
2. Understanding the potential damage caused by a loose base
Ignoring a shaky sink faucet base may seem like a minor oversight, but it can result in significant damage over time.
Continuous movement can weaken the fitting, leading to water leakage and possibly ruining your counter or cabinets.
Persistent dampness from water leaks can also stimulate mold growth, which could pose health risks. Moreover, unchecked water exude may increase your water bill substantially.
3. Why you should fix it sooner rather than later
The Importance of Prompt Repair
Taking swift action to fix a unsecured mixer tap base is crucial to avoid potential problems. By promptly addressing this seemingly minor issue, you can prevent the deterioration of your kitchen fixtures, protect your kitchen surfaces from water damage, and maintain a hygienic environment free from mold or mildew growth.
Furthermore, timely repairs can help conserve water resources and keep your water bills in check. Through quick intervention, you can ensure the longevity of your kitchen experience.
4. The tools you will need for this task
Performing the Task Safely and Efficiently
Performing any DIY task, especially those involving plumbing, requires careful execution for safety and efficiency.
It’s essential to wear appropriate protective gear, such as gloves and safety glasses, to safeguard against any potential hazards. Secondly, ensure you have all the necessary tools before starting the task to avoid unnecessary interruptions.
Lastly, always turn off the water supply to prevent accidental water spillage, which could lead to water damage or slip hazards. Adhering to these safety measures can stiffen a unstable water tap base confidently and efficiently.
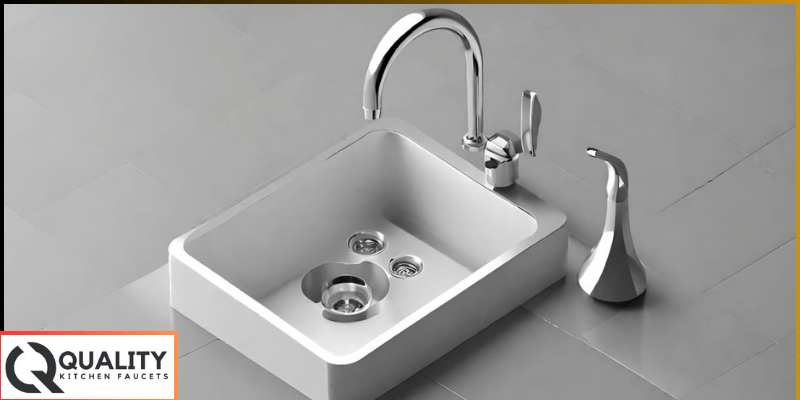
5. Step-by-step guide on how to firm up the base of a single-handle sink mixer
Embracing the DIY Spirit: The Benefits of Tackling Loose Kitchen Faucets Yourself
Embracing the Do-It-Yourself (DIY) approach with common household issues, such as a wobbly kitchen tap, comes with numerous benefits.
First, it can save you significant money you’d otherwise spend on professional plumber services. Second, knowing you can handle minor repairs around your home gives you a sense of self-reliance and accomplishment.
Importantly, it helps you familiarize yourself with your home’s plumbing system, a knowledge that can be valuable for future, more complex repairs.
Therefore, tightening a loosened sink faucet with patience, a good set of tools, and a guide to follow can be a quick, gratifying, and educational DIY experience.
A. Shut off the water supply to avoid any accidents
Securing the Faucet: Ensuring Stability
To ensure the faucet stays in place while you work, secure it from above before you start.
This step is crucial as it prevents the faucet from moving around, making the tightening process more accessible and practical.
It also helps avoid accidental damage to the faucet or the benchtop.
B. Removing the handle and escutcheon plate
Uncovering the Base: Removing the Decorative Cap
Before you can tighten the loose faucet, you need to access the screw that secures it. This usually involves removing a decorative cap or cover that conceals the screw.
Carefully use a flat-head screwdriver to pry off the cap, revealing the underlying fixing screw. Please place the cap safely to ensure it’s not lost or damaged.
C.Tightening the fastening nut with an adaptable wrench
Securing the Base: The Final Step
One of the critical steps in fixing a loose kitchen faucet shaky mixer tap is tightening the securing nut. This nut is found beneath the sink and securely holds the faucet.
To pull it, you will need an odifiable wrench. Please ensure the wrench perfectly fits around the nut, then rotate clockwise until it is snug.
However, be cautious not to over tighten loose the nut, as it may cause damage parts of the faucet or the sink itself. Once this process is complete, your faucet should be firmly secured and ready for use.
D. Reassembling the handle and escutcheon plate
Reestablishing the Exterior: Putting It Back Together
With the ocking nut securely tightened, the next step is reconstitute the faucet handle and escutcheon plate.
Begin with the handle, making sure to align it correctly before securing it with the screw you had initially removed. Please replace the escutcheon plate to ensure it fits snugly around the base of the faucet.
This final step restores the faucet to its original appearance, with the added advantage of a reinforced, wobble-free base.
Turn the water supply back on, and test the faucet for discharge or movement. Congratulations, you’ve successfully tied your water tap!
1. Additional tips for keeping your faucet in top shape
Embracing Preventive Care: Proactive Measures for Maintaining Your Sink Mixer
Proactive and consistent care is the key to keeping your kitchen tap in top shape and extending its lifespan.
Please check for any loose parts or seeps and address them promptly to avoid more significant issues.
Clean your faucet regularly to prevent the buildup of grime and mineral deposits that could affect its functionality.
If your faucet has an aerator, clean it periodically or replace it when needed, as it can become clogged over time.
Invest in high-quality parts when replacements are necessary; they last longer and perform better. Lastly, consider getting a professional inspection every few years to spot any hidden issues with the faucet.
By following these proactive measures, you can ensure that your sink faucet remains in optimal condition for many years.
2. Conclusion: enjoy a sturdy, functional, and aesthetically pleasing mixer tap
Embracing the Art of DIY: Discovering the Joy of Self-Sufficiency
By undertaking DIY tasks such as tightening an unsecured water tap, you are saving money, becoming familiar with your home’s plumbing system, and learning a valuable life skill.
DIY tasks instill a sense of self-sufficiency, empowering you to take charge of your home maintenance needs. They also foster creativity and problem-solving capabilities as you learn to navigate and overcome various challenges.
So the next time a faucet loosens or a light bulb flickers, why consider the DIY approach? After all, it’s not just about fixing things—it’s about growing self-reliant and resourceful.
Conclusion
The satisfaction derived from successfully performing a DIY task, such as fastening a sink mixer, is unique and unparalleled. It’s a testament to self-reliance, a nod to frugality, and a celebration of practical skills.
Furthermore, it fosters a deep connection with our living spaces, as we understand their workings and contribute to their upkeep. Practical DIY skills also serve as valuable tools in times of need, saving us from costly professional services or prolonged inconvenience.
So, go ahead and embrace the fascinating world of DIY because the experience is not just educational—it’s also uniquely rewarding.
FAQs
How do you secure a loose-motion kitchen faucet base?
To stiffen a wobbly sink faucet mounting, you’ll need to access the mounting nut beneath the sink and draw it using an adjustable wrench until it’s secure, but be careful not to overtighten it as it might cause damage.
How do you fix a stiff single-handle faucet?
To fix a stiff single-handle faucet, lubricate the cartridge, usually under the handle, by removing the handle, applying silicone-based grease, and then rebuilding the faucet.
What is the best lubricant for a Moen faucet?
The best lubricant for kitchen faucets is silicone-based grease. This type of lubricant is water-resistant and non-toxic for kitchen faucets.
Why is my single-handle kitchen faucet hard to turn?
A single-handle kitchen faucet can be hard to turn due to accumulated mineral deposits or a worn-out cartridge causing internal friction.