
What Size Set Screw for Moen Kitchen Faucet
Dealing with a loose or malfunctioning Moen galley bibcock can be a frustrating ordeal, mainly when the solution lies in something as small yet crucial as a set peg. Identifying the correct size of the set fastener is essential for a secure fit and smooth operation of your spout. This tiny component holds the key to preventing leaks and ensuring the durability of your faucet’s control.
Fortunately, there’s a straightforward way to tackle this issue without the need for professional intervention. With the right information and tools, anyone can determine the correct size of the set stud needed for their water tap brand cookery valve. This guide will lead you through the easy steps to identify, measure, and replace the set pin, ensuring a tight and functional faucet operates.
By following the detailed instructions provided in this article, you will save time and resources and gain the satisfaction of fixing a vital part of your kitchen’s plumbing system yourself. Continue reading to discover how easy it is to resolve this common food preparation area issue and restore the smooth operation of your tap’s trademark spigot.
What Size Set Screw for Moen Kitchen Faucet in 19 Steps
If you follow the exact one given below by an expert, you’ll get a ride on your what-size set bolt for the main food preparation area AP issue.
How to Identify the Correct Set peg Size for Your Fixture Ake Culinary Space Button.
Step 1: Locate the socket screw
Begin by locating the set fastener on your plumbing trademark cooking area spout. It’s usually found on the underside of the operation or behind a decorative cap on the top or side of the control.
Step 2: Remove the manage
Carefully remove the manipulated valve to access the set stud. If there is a decorative cap, use a flathead pin driver to pry it off gently.
Step 3: Inspect the threaded pin
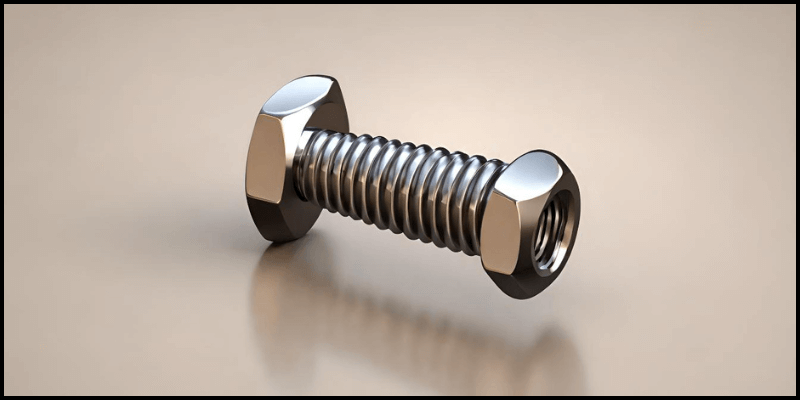
Take a close look at the existing set bolt. Note its condition and any visible markings that might indicate its size.
Step 4: Measure the Screw Diameter
Using a precise measuring tool like a caliper, measure the diameter of the set peg. This measurement is critical for determining the correct stand-in.
Step 5: Determine the Thread Pitch
Next, identify the thread pitch of the set fastener, which is the distance between the threads. This is usually measured in threads per inch (TPI).
Step 6: Check the Screw Length
Measure the length of the set pin from end to end. This ensures the surrogate bolt fits perfectly without protruding or being too short.
Step 7: Consult Moen’s Specifications
Visit the Spigot label website or contact their customer support to cross-reference your measurements with their specifications for your AP model.
Step 8: Purchase the substitution Screw
Once you have all the necessary measurements, purchase the set peg that matches them. Hardware stores or online retailers are good sources.
Step 9: Install the New Set Screw
Carefully bolt the new threaded pin into place. Ensure it’s snug, but do not overtighten, as this can damage the threads or the wield.
Step 10: Test the Faucet
After installing the new set peg, reassemble the bibcock control and test the functionality of your spout. Make sure there’s no wobble and that the manipulation operates smoothly.
By following these steps meticulously, you will have successfully identified and replaced the set fastener in your water tap’s culinary space valve, ensuring its stability and functionality for years to come.
Essential Tools and Materials for Replacing a tap marque cookery spigot Set stud.
Step 11: Calipers or Micrometer:
Pin driver (Flathead and Phillips)
Using the correct type of bolt driver is crucial when manipulating a fixture’s set peg and AP, such as the Ake galley faucet.
A flathead fastener driver will be needed to pry off any decorative caps concealing the set stud gently. In contrast, a Phillips screwdriver may be required for screws that secure parts of the bibcock assembly.
Ensure you have both types on hand to avoid any delays or damage to the components during the repair process.
Step 12: Flathead Screwdriver
Penetrating Oil
When dealing with a set peg that has become stubborn due to corrosion or long-term wear, penetrating oil can be a game changer.
A few drops applied around the base of the fastener allow the oil to seep into the threads, loosening the grip and making removal significantly more accessible.
This is especially useful in food preparation area environments where moisture and mineral deposits can lead to more tenacious stud binding.
Allow the penetrating oil to work its magic for a few minutes before attempting to unscrew. This simple step can prevent damage to the pin head or the spout wield during disassembly.
Step 13: Thread Gauge
A thread gauge is an essential tool for accurately determining the thread pitch of the set bolt in your Moen culinary space spout.
By matching the threads of the screw to the ridges on the gauge, you can identify the exact thread pitch measurement, typically denoted in threads per inch (TPI).
This precise tool enables you to select the correct set peg with confidence, ensuring a perfect fit and seamless valve operation.
Having a thread gauge on hand simplifies the identification process and eliminates the guesswork associated with matching fastener threads, making it an invaluable resource in your spigot repair toolkit.
Step 14: Alternative grub screw
Unearth the proper substitute set pin for your plumbing trademark galley, which is crucial to the repair process.
Once you have determined the precise measurements, including diameter, thread pitch, and length, it’s time to locate a stand-in.
Surrogate headless screws designed explicitly for bibcock labels can often be found at your local hardware store or through online retailers specializing in plumbing supplies.
When purchasing, look for blind screws made from materials resistant to corrosion, such as stainless steel, to ensure longevity and prevent future issues.
Additionally, purchasing a small assortment of commonly used sizes can be beneficial for future repairs, saving you time and ensuring you’re prepared for any unexpected maintenance.
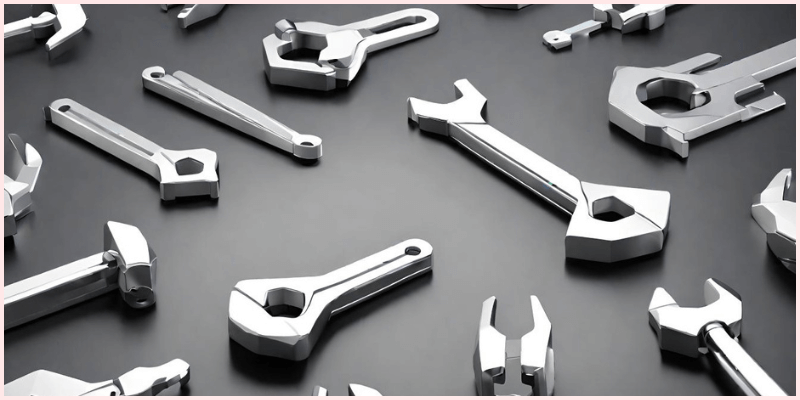
Step 15: Hex Wrench Set
A spell wrench set, also referred to as a wrench key set, is indispensable when it comes to dealing with the socket screw on water tap name cookery faucets.
These screws commonly require a specific size hexagonal key to loosen or tighten effectively. Having a complete spell wrench set ensures that you have the correct size on hand, eliminating trial and error and preventing damage to the set bolt heads.
Opt for a high-quality set that includes a range of sizes, both metric and measure, as this will cover the various needs that might arise during spout repair or other household tasks.
A good jinx wrench set is a modest investment that pays dividends in ease and efficiency, not just for valve repairs but for a wide range of DIY projects.
Step 16: Lubricant (WD-40 or similar)
Lubricant plays a critical role in the maintenance and repair of fixture marque food preparation area faucets, particularly when it comes to loosening and protecting socket screws.
A spray lubricant like WD-40 not only frees up stuck or corroded components but also provides a protective coating to prevent future corrosion.
It’s instrumental in cookery environments, where moisture and heat can accelerate wear and corrosion on metal parts.
For best results, apply the lubricant directly to the set peg and surrounding area, allowing it to penetrate for several minutes before proceeding with disassembly.
This step not only facilitates the removal process but also ensures the longevity of the faucet’s components. Always have a can on hand during the repair process for convenient application as needed.
spigot operate Puller
An AP manipulator puller can be an essential tool for removing stubborn handles from your Moen food preparation area bibcock without damaging it.
Sometimes, due to mineral deposits, corrosion, or prolonged use, the spout management can become difficult to remove by hand.
The valve wields puller works by applying even pressure to the bottom of the control, lifting it off the stem without scratching, bending, or damaging the handle or the faucet itself.
This tool is especially useful for older faucets, where the handles may have fused to the stem over time. Investing in a spigot-operated puller ensures that you can tackle even the most stubborn faucets with confidence, preserving the integrity of your culinary spacer.
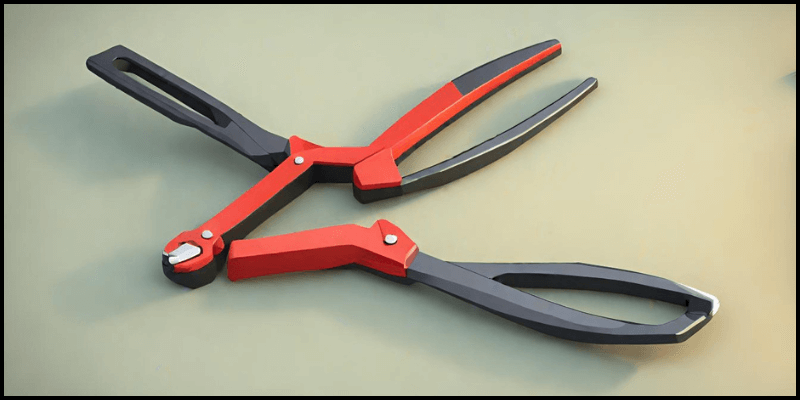
Step 17: Needle-nose Pliers
Needle-nose pliers are an essential tool for gripping small components during the repair of your Moen cooking area.
These slender-tipped pliers are perfect for reaching into tight spaces and securely grasping small parts, such as retaining clips or small nuts, that other pliers might not be able to hold.
Their precision allows for delicate manipulation without causing damage to the spigot components.
When replacing a set fastener or working on other small-scale repairs, needle-nose pliers can provide the accuracy and control needed to ensure a smooth and successful repair process.
Always choose a pair with non-slip manipulation to maintain a firm grip, even in wet conditions commonly encountered under the galley sink.
Step 18: Flashlight
A high-quality flashlight is indispensable for illuminating the often cramped and poorly lit space beneath your cookery sink, making it a must-have tool in the bibcock repair process.
Look for a flashlight with a durable, water-resistant design and a robust and adjustable beam to ensure you can direct light exactly where it’s needed.
Models with magnetic bases or flexible, wrapping legs can be beneficial. They allow for hands-free operation, enabling you to focus on the task at hand without juggling a light source.
Ensuring good visibility not only aids in precision during the repair but also significantly reduces the risk of accidental damage or injury.
Step 19: Soft Cloth or Rag
A soft cloth or rag is essential for delivering a clean, polished finish to your Moen cookery spout after repair and for protecting its surface during the process.
Opt for a lint-free cloth to avoid leaving residue behind on the faucet’s finish. This tool proves invaluable for wiping away fingerprints, water spots, and any residual lubricant or debris, ensuring your spigot looks as good as new.
Furthermore, a soft cloth can be used to gently hold or stabilize spigot parts during disassembly and reassembly, preventing scratches or damage to the finish. Always have a few clean, soft clothes or rags on hand to ensure a spotless result.
Conclusion
Having the right tools and materials on hand to repair my Moen food preparation area bibcock has transformed what could have been a daunting task into a manageable DIY project.
Each tool, from the replacement set screws to the soft cloth for polishing, played a vital role in ensuring a successful repair. The satisfaction of fixing my spout, saving money, and extending its lifespan cannot be overstated.
It’s a testament to the value of being prepared and having a basic understanding of household maintenance. With these tools in my arsenal, I am ready to tackle any similar issues that may arise in the future, further enhancing my DIY capabilities and confidence.
FAQs
What size wrench stud is on a Moen valve anage?
The most common Allen key pin size for a Moen valve wield is 7/64 inch.
What size bolt for the Delta sink spigot set?
The most frequently used set peg size for a Delta sink spigot is 1/8 inch.
What size sorcery wrench to remove Kohler’s anage?
The gauge witchery wrench size to remove a Kohler bibcock wield is 3/32 inches.
What is the criterion for culinary space sink spout thread size?
The standard cooking area sink valve thread size is commonly 3/8 inch in diameter.